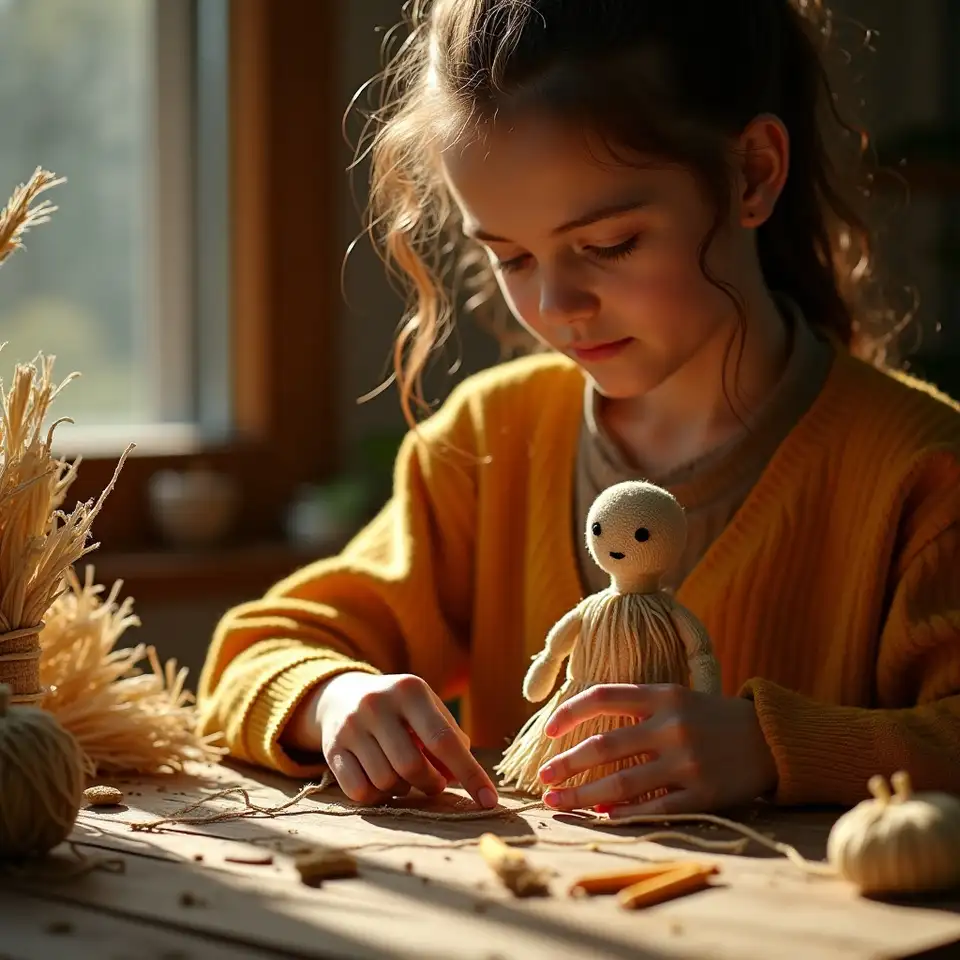
Your first corn husk doll is just a few steps away
No Prior Craft Experience Needed
Foundational techniques are accessible to complete newcomers regardless of background.
A Single Session to Start
A basic figure can be completed within two to three focused hours.
Natural, Low-Cost Materials
Corn husks, water, and twine are the only essentials for a first attempt.
The Process
Three stages that take a beginner from raw husks to a finished figure
-
Gather and Prepare Your Materials
Source dried corn husks from a market, farm supply store, or by drying fresh husks at home over several days. Soak them in warm water for ten to fifteen minutes until pliable but not fragile. Gather natural twine or cotton thread for binding, and lay everything on a flat, clean surface before beginning. -
Shape the Head, Body, and Arms
Fold a small bundle of softened husks over a tied core to form the head — the oldest and most consistent technique across documented folk traditions. Bind tightly below the fold to define the neck. Slide a rolled husk horizontally through the body bundle to create arms, then bind again at the waist to establish the figure's proportions.
-
Finish, Dry, and Reflect
Trim any uneven husk ends with scissors to refine the silhouette. Stand the figure upright or hang it to dry fully — a process that takes twelve to twenty-four hours depending on humidity. Once dry, the husks stiffen and the figure holds its shape permanently. The first doll is rarely the best one, and that is entirely the point.
What every first-time maker should know before beginning
Historical accounts of corn husk doll making — from Indigenous North American traditions to Eastern European harvest customs — share one consistent detail: the craft was passed person to person, in real time, with the maker watching and then doing. This page attempts the same transfer, in text form, for those beginning without a teacher nearby.
- Soaking time changes everything
- Under-soaked husks crack when folded. Over-soaked husks lose structural integrity and tear under tension. Ten to fifteen minutes in warm water produces the right balance — pliable enough to shape, firm enough to hold a binding knot without splitting. Test a single strip before committing the full batch.
- A common early assumption is that the doll's head requires shaping by hand, like clay. It does not. The rounded form emerges naturally when a bundle of husks is folded over a tied core and bound firmly below the fold. Tension does the work. Trust the knot.
- Arm length determines proportion
- The horizontal husk bundle that forms the arms should extend roughly one third of the figure's total height on each side before trimming. Getting this ratio right before binding the waist saves considerable adjustment later. Historical figures across multiple traditions consistently reflect this proportion — it reads as natural to the eye.
Rushing the drying process by applying heat — whether from a warm oven or direct sunlight — causes uneven shrinkage and warping. Room temperature drying, with good airflow, produces a figure that holds its intended shape. Patience applied at the end of the process is just as important as patience at the beginning.
Mistakes that catch most first-time makers off guard
The craft is forgiving in many respects — but a handful of missteps appear so consistently among beginners that naming them directly saves considerable frustration on the first attempt.
Over-soaking husks until they become fragile
Husks left in water for too long absorb more moisture than the fibres can hold. They become soft, tear easily under binding tension, and lose the structural resilience needed to hold a folded shape. Fifteen minutes is a reliable maximum for most husk thicknesses. Thinner husks may require even less time — test before committing the full batch to a long soak.
Skipping the wire armature on more complex figures
A basic standing figure can be completed without internal wire support. However, any figure intended to hold a posed position — arms extended, body angled — requires a wire armature to maintain that pose through the drying process and beyond. Attempting to pose a figure without internal support produces a shape that collapses as the husks dry and contract around an unsupported form.
Rushing the drying process with applied heat
Applying heat to speed drying — whether through direct sunlight, a warm oven, or a fan heater — causes different parts of the figure to dry at different rates. The result is warping, cracking at binding points, and a finished shape that differs significantly from the intended form. Room temperature drying with natural airflow is the only reliable method for a first figure.
Binding too loosely at the neck and waist
The defining proportions of a corn husk doll — the rounded head, the distinct waist — depend entirely on tight, secure bindings at the correct points. Loose bindings allow husks to shift during drying, producing a figure that loses its intended shape as moisture leaves the material. Wind thread or twine firmly enough that the binding does not move when the figure is gently handled.
Discarding imperfect early attempts too quickly
A figure that does not meet expectations on the first attempt still contains useful information about where the process went wrong. Examining a finished but imperfect doll — noting where bindings slipped, where husks cracked, where proportions diverged from intention — produces clearer understanding than any written description. Keep early attempts as reference material rather than discarding them immediately.
Beginner Questions
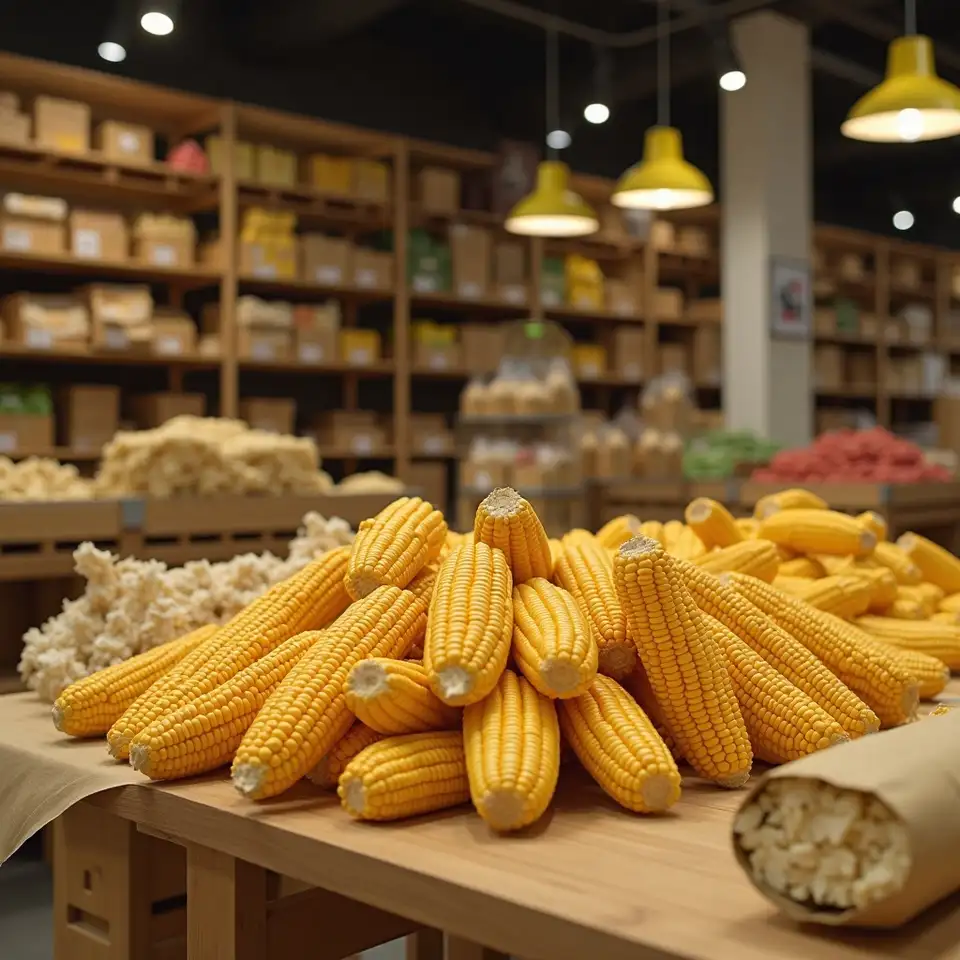
Where do I find corn husks?
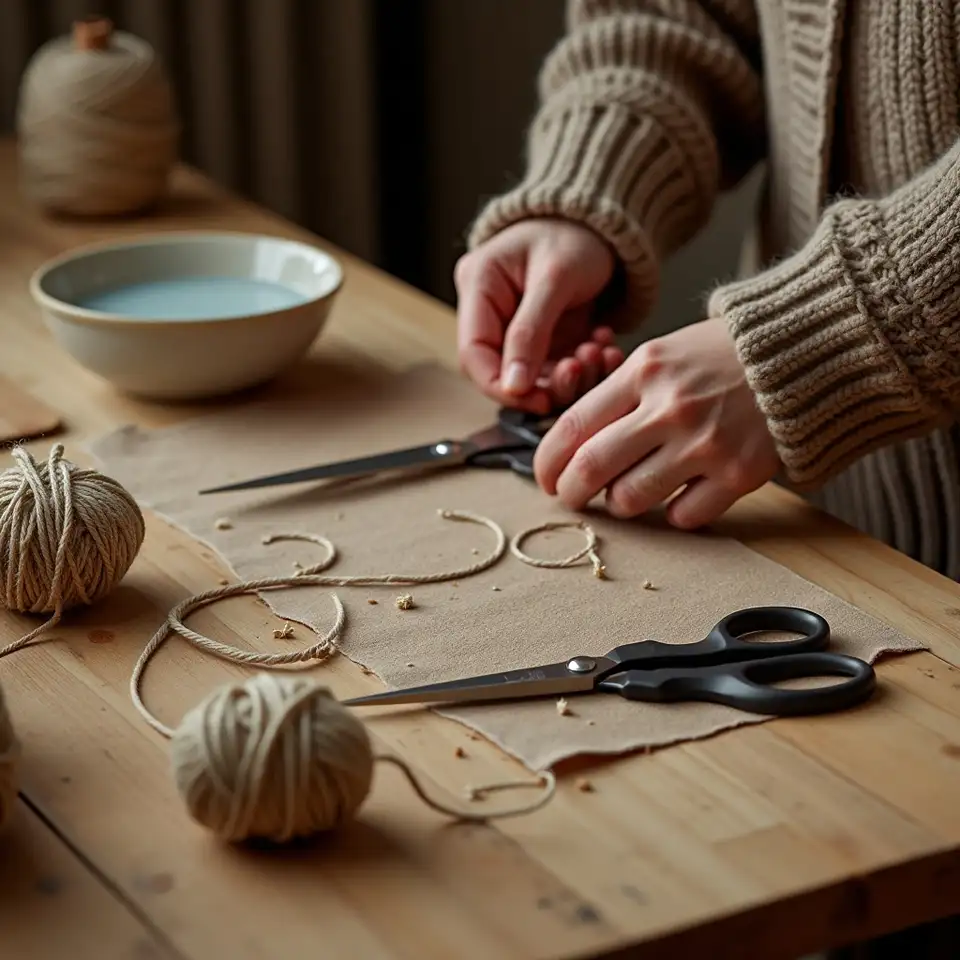
Do I need any special tools?
How long does one doll take?
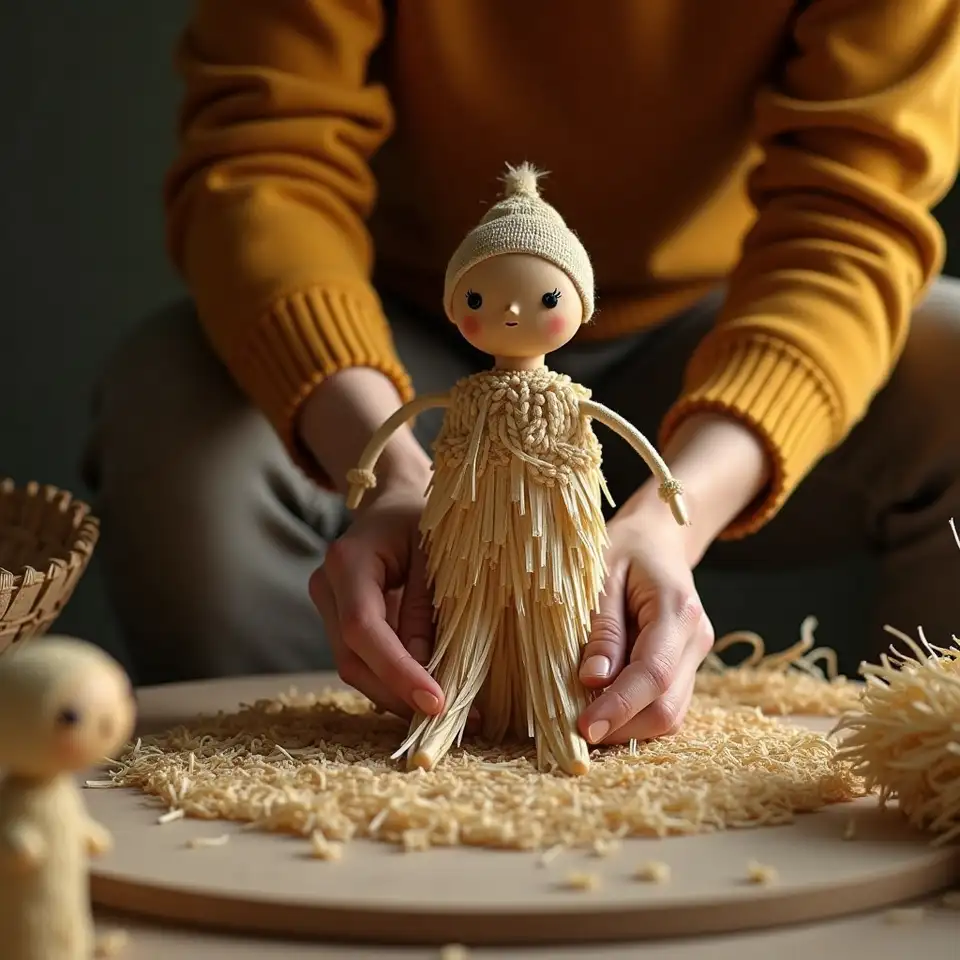
A straightforward standing figure with no armature takes most first-time makers between two and three hours from soaking to the end of shaping. Drying then requires an additional twelve to twenty-four hours at room temperature. More detailed figures — with dressed forms, posed arms, or added accessories — take longer, but the initial shaping session remains within a similar time range.
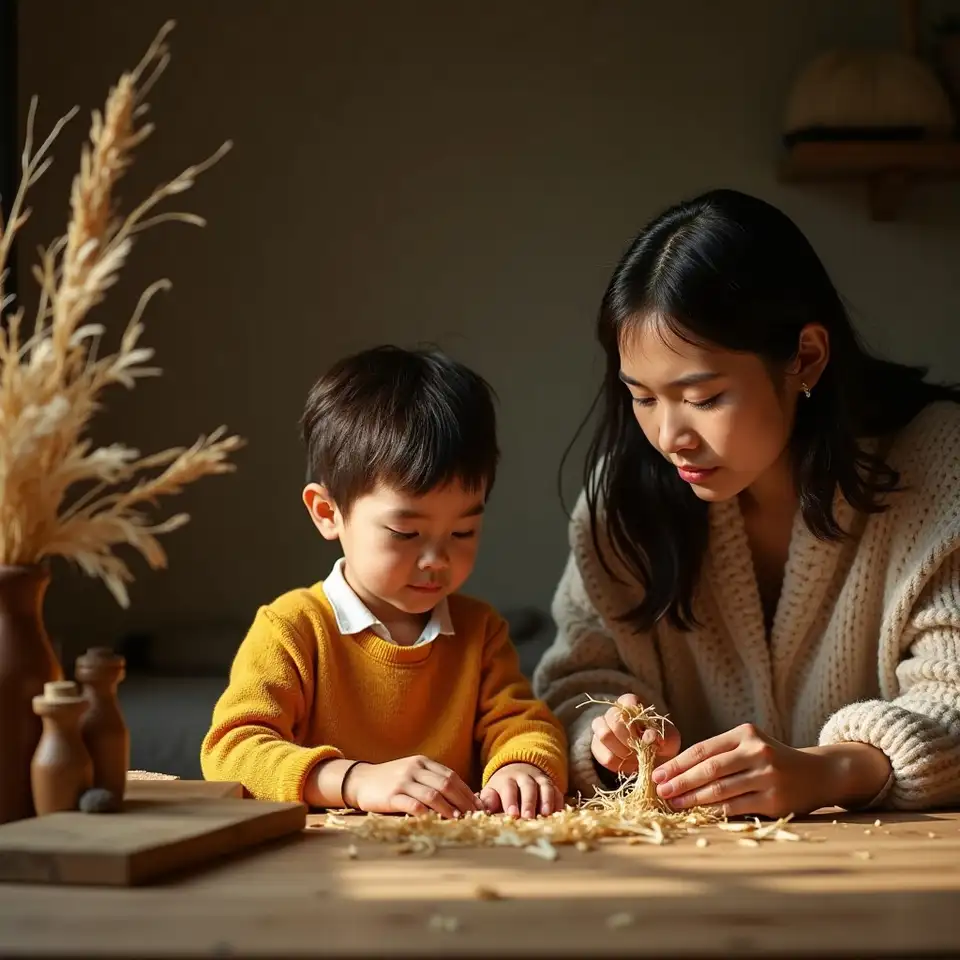
Is this suitable for children?
Can I join the community as a beginner?

A first figure made — now there is more to explore
Intermediate tutorials cover regional styles, natural dyeing, and dressed figure construction for makers ready to progress.
The history and heritage section maps the cultural lineages behind the craft across multiple continents and centuries.
The materials guide details husk sourcing, preparation methods, and natural dye options available within Australia.
Community members share finished work, in-progress questions, and technique observations in an open and welcoming forum.