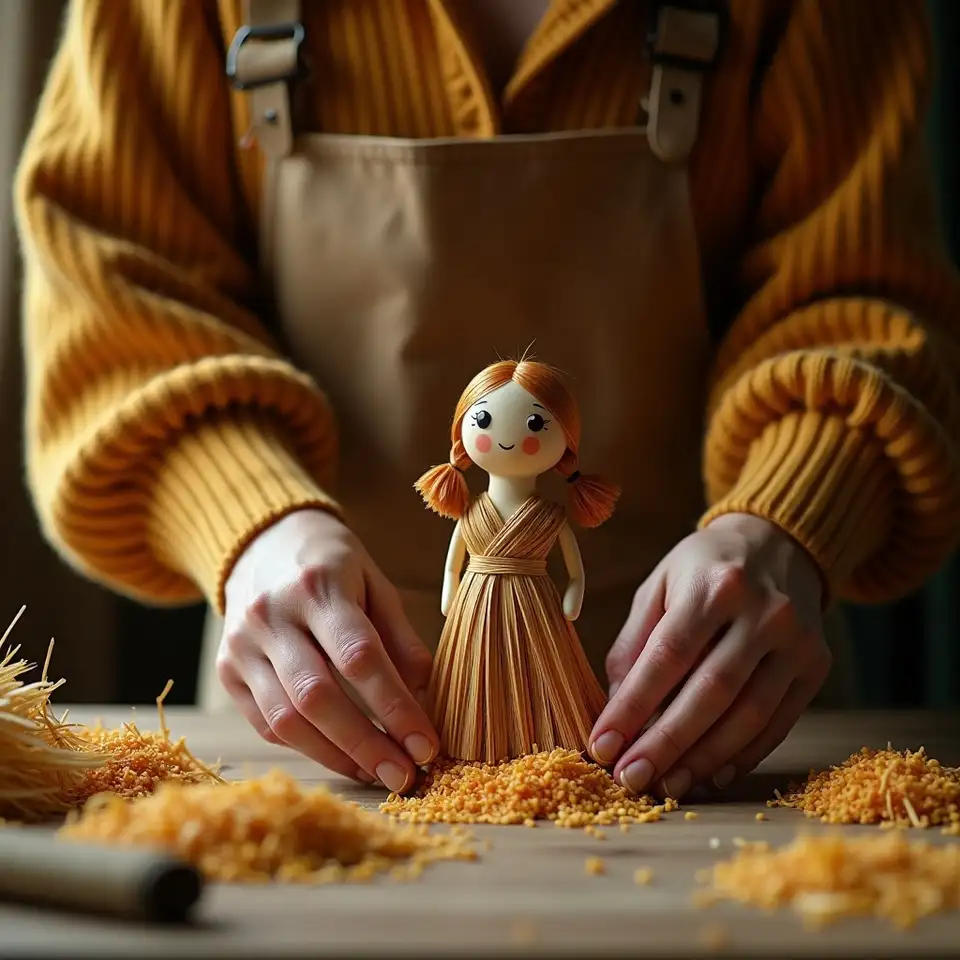
hands crafting corn husk doll tutorial
All skill levels

Tutorials for every stage of the corn husk doll making journey

Centuries of folk art tradition, mapped into step-by-step guides that begin where a maker actually is — not where it would be convenient for them to start. Foundational figures, natural dyeing, dressed forms, seasonal designs, and cultural heritage styles are all documented here with the same patient attention to material logic that the craft has always demanded. Each tutorial provides a clear materials list, photo-guided steps, and finishing notes before the next one begins.

All tutorials are provided for hobbyist and informational purposes only. Individual results will vary depending on materials, environment, and technique.

Tutorial Categories

Five distinct pathways through the craft — from a first figure to advanced sculptural forms

The tutorials on this site are arranged by skill level and thematic focus rather than by date of publication. A maker who has never soaked a husk and a maker who has completed dozens of figures will each find a starting point that matches where they currently are. Cultural heritage tutorials draw explicitly on documented folk art traditions and are presented with acknowledgment of those origins.

  1. Beginner Basics — First Figures and Foundational Technique

    No prior experience needed
    The beginner series covers the foundational corn husk doll in its simplest documented form — a standing figure with a defined head, bound waist, and trimmed lower section. Each tutorial in this category begins with material preparation: soaking times, husk selection, and twine choice. Steps are presented in the sequence that historical folk art instruction has consistently favoured — body structure before proportion refinement, proportion before surface detail. Makers who complete the beginner series will have produced at least three figures of increasing quality and will have a working understanding of how soaking time, binding tension, and drying conditions interact to produce a finished result.
    • Standing figure, no armature
    • Soaking and binding fundamentals
    • Proportion and drying guidance
  2. Intermediate Designs — Dressed Forms and Posed Figures

    For makers past their first figure
    Intermediate tutorials introduce the wire armature — the structural addition that allows a figure to hold a posed position through drying and beyond. Dressed forms are covered in detail, including the construction of skirts and bodices from natural husk strips, and the use of raffia and dried grasses as supplementary materials for hair and decorative detail. Natural dyeing is introduced at this level, with documented plant-based methods using materials available across Australia. Makers approaching intermediate tutorials are assumed to have completed at least two beginner figures and to have a basic understanding of how binding tension affects a finished shape.
    • Wire armature construction
    • Dressed figure and skirt forms
    • Natural dye application methods
  3. Advanced and Cultural Heritage Styles — Depth and Tradition

    Experienced makers and heritage interest

    Advanced tutorials address sculptural figures with complex poses, fine surface detail, and multi-material construction combining corn husks with dried grasses, natural fibres, and plant-based dyes applied in layered sequences. The cultural heritage series within this category draws on documented traditions from Haudenosaunee, Appalachian, Eastern European, and West African folk art lineages, presenting each regional style with historical context drawn from ethnographic and material culture research. These tutorials are the most demanding in terms of time, material preparation, and technique — and produce figures that reflect the full depth the craft is capable of reaching.

    • Complex sculptural poses
    • Regional folk art heritage styles
    • Multi-material advanced construction

How each tutorial is structured

Every tutorial on this site follows the same architecture — not for the sake of uniformity, but because the sequence reflects how the craft has historically been transmitted: context first, materials second, making third, reflection last. A maker who understands why a step exists is more likely to execute it correctly than one who simply follows an instruction without that grounding.
1

Introduction and cultural or design context

Each tutorial opens with a brief account of the figure's origins — which tradition it draws from, what materials were historically used, and what the finished object was intended to represent or accomplish within its originating culture or season.
This context is not decorative. A maker who understands that the faceless doll carries deliberate cultural significance in certain Haudenosaunee traditions will approach the form with more care than one who sees it simply as a beginner shortcut.
2

Materials list with sourcing and preparation notes

A complete list of required materials is provided before any making step begins, including guidance on where each item can be sourced within Australia, how to prepare it correctly, and what acceptable substitutions exist when a specific material is unavailable in a given region.
Husk thickness, twine weight, wire gauge, and dye materials are each described with enough specificity that a maker can assess what they have on hand and what needs to be sourced before beginning. No tutorial assumes a particular supplier is accessible.
3

Photo-guided step-by-step making process

The making sequence is documented in photographs at each significant stage — from the first bundle through to the final binding and any decorative finishing. Written instructions accompany each photograph, describing what is happening, why, and what a correctly executed step looks and feels like at the point of completion.

Where a step is commonly mishandled by beginners — loose neck bindings, over-soaked husks, rushed drying — the tutorial names the error directly and describes both what it produces and how to correct it before proceeding.

4

Finishing, display, and community share prompt

Each tutorial closes with notes on drying conditions, optional finishing treatments including natural lacquers and protective sealants, and display recommendations suited to the Australian climate. A prompt invites the maker to share their finished piece in the community forum.
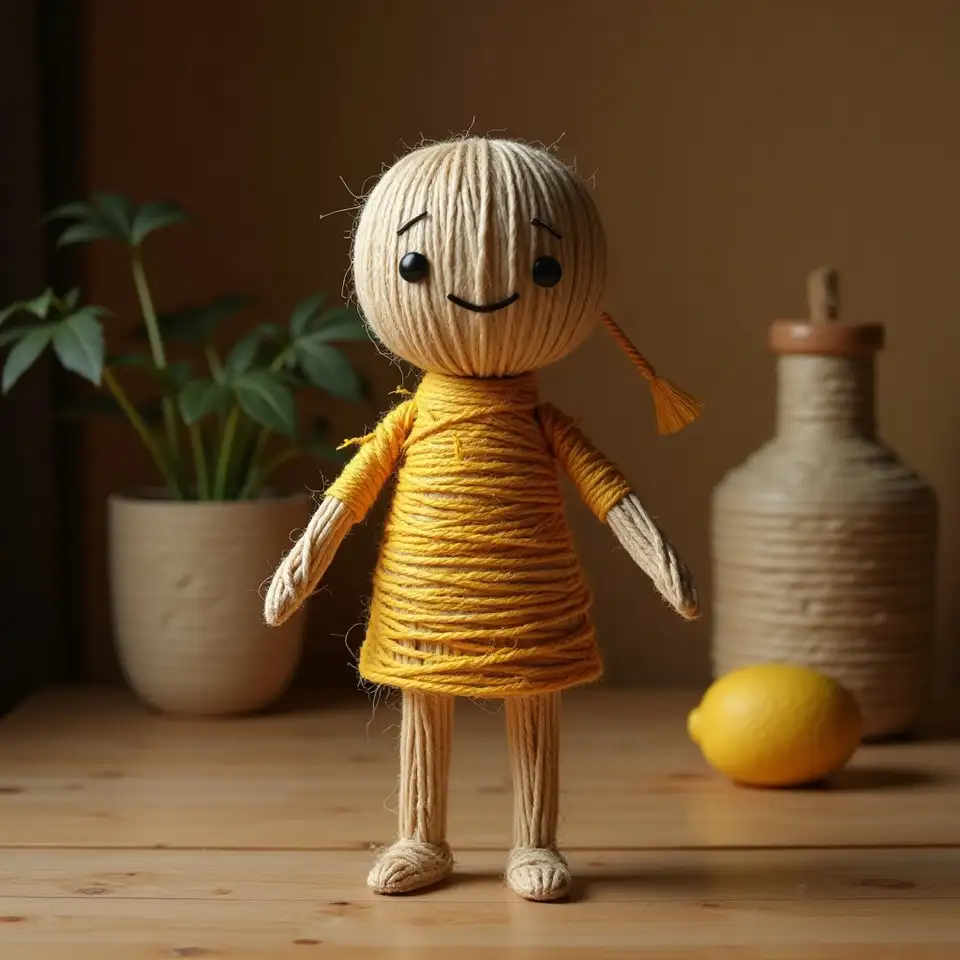
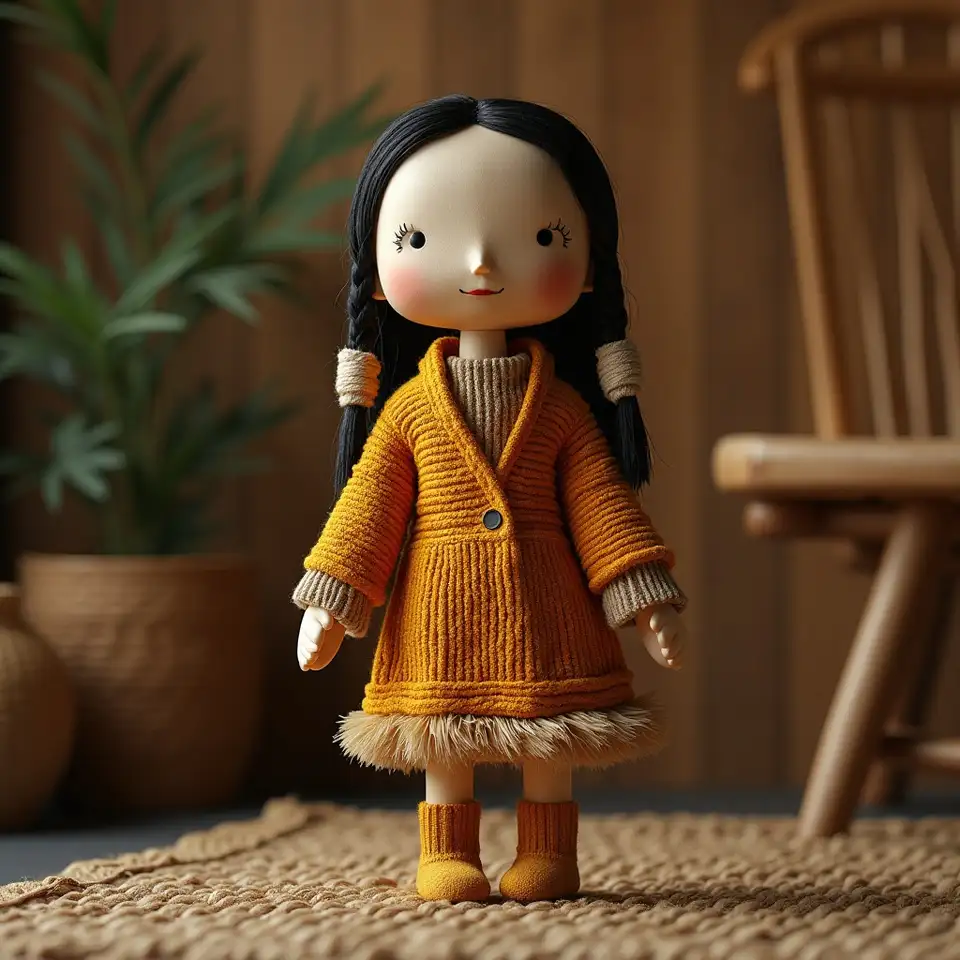
The community share prompt is not an afterthought — folk art traditions have always involved showing finished work to others. The community forum is where technique questions from the tutorial are most efficiently answered by makers who have completed the same project.

Featured tutorial projects

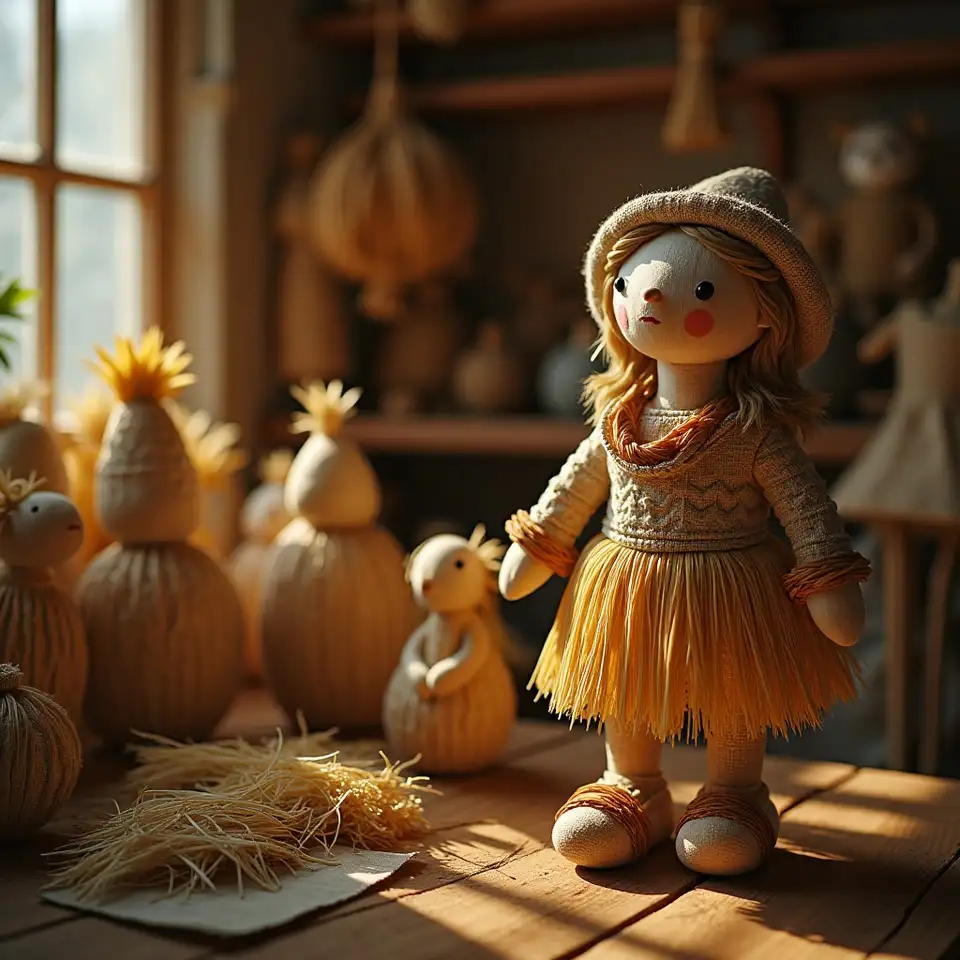
A selection of the figures covered across the tutorial series — from a first standing doll to elaborately dressed regional forms — showing the range available to makers at every level.
Classic standing beginner figure

Classic standing beginner figure

The foundational figure that appears across more documented folk art traditions than any other corn husk doll form. A bundled body, folded head, horizontal arm insert, and waist binding — completed without wire and suitable for a first attempt. The proportions follow historical precedent across Appalachian and Eastern European making traditions, producing a figure that reads as balanced and finished despite its structural simplicity.
Dried husks Cotton twine No armature Beginner level
Faceless doll — Haudenosaunee tradition

Faceless doll — Haudenosaunee tradition

Drawn from the well-documented Haudenosaunee tradition of the faceless figure, this tutorial presents the form with its cultural narrative intact. The absence of facial features is explained in historical and cultural terms before the making steps begin. The figure itself is structurally similar to the basic beginner doll — the distinction lies in what is deliberately withheld and why that withholding carries meaning within its originating tradition.
Cultural heritage Dried husks Natural twine Intermediate level
Appalachian dressed figure with skirt

Appalachian dressed figure with skirt

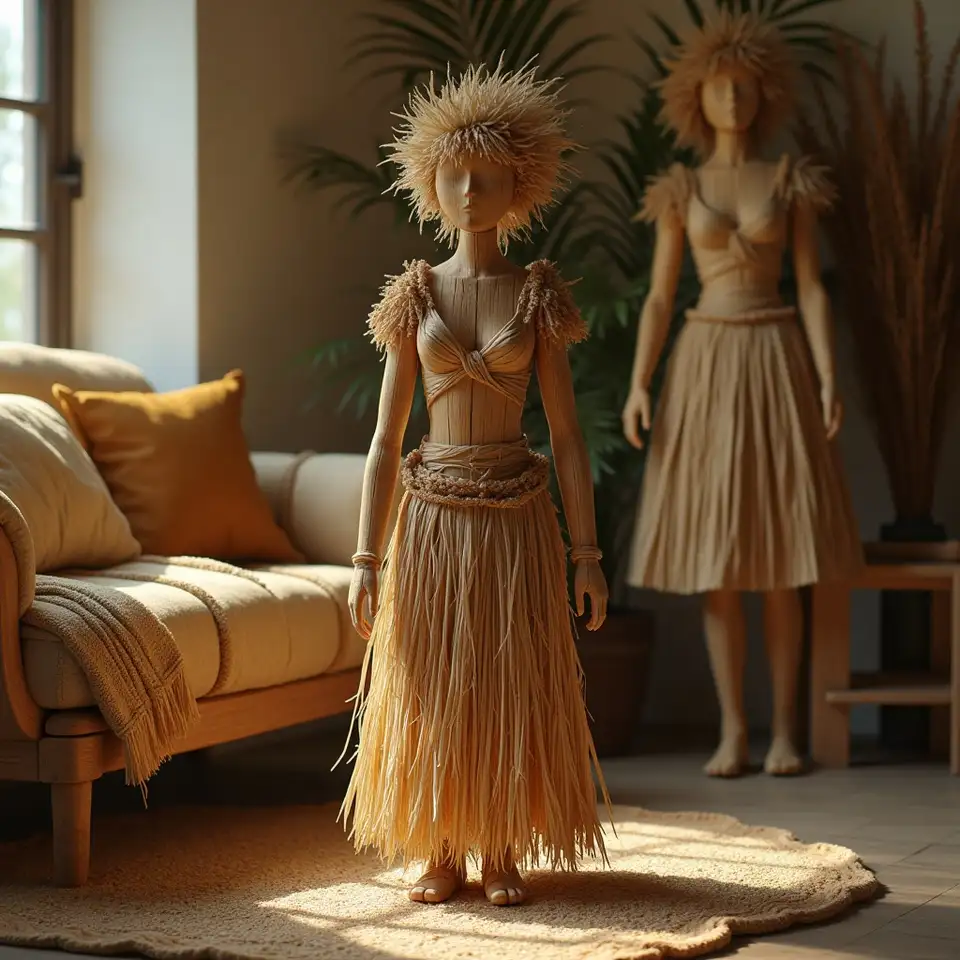
Regional Appalachian makers developed a tradition of dressed corn husk figures distinguished by full skirts, defined bodices, and hair details constructed from raffia or dried grasses. This tutorial covers the wire-free skirt construction technique — multiple husk strips arranged and bound at the waist to produce a flared lower form — alongside a basic bodice wrap and raffia hair attachment method documented in mid-century Appalachian craft records.
Raffia detail Skirt construction Intermediate level Appalachian style
Naturally dyed amber figure

Naturally dyed amber figure

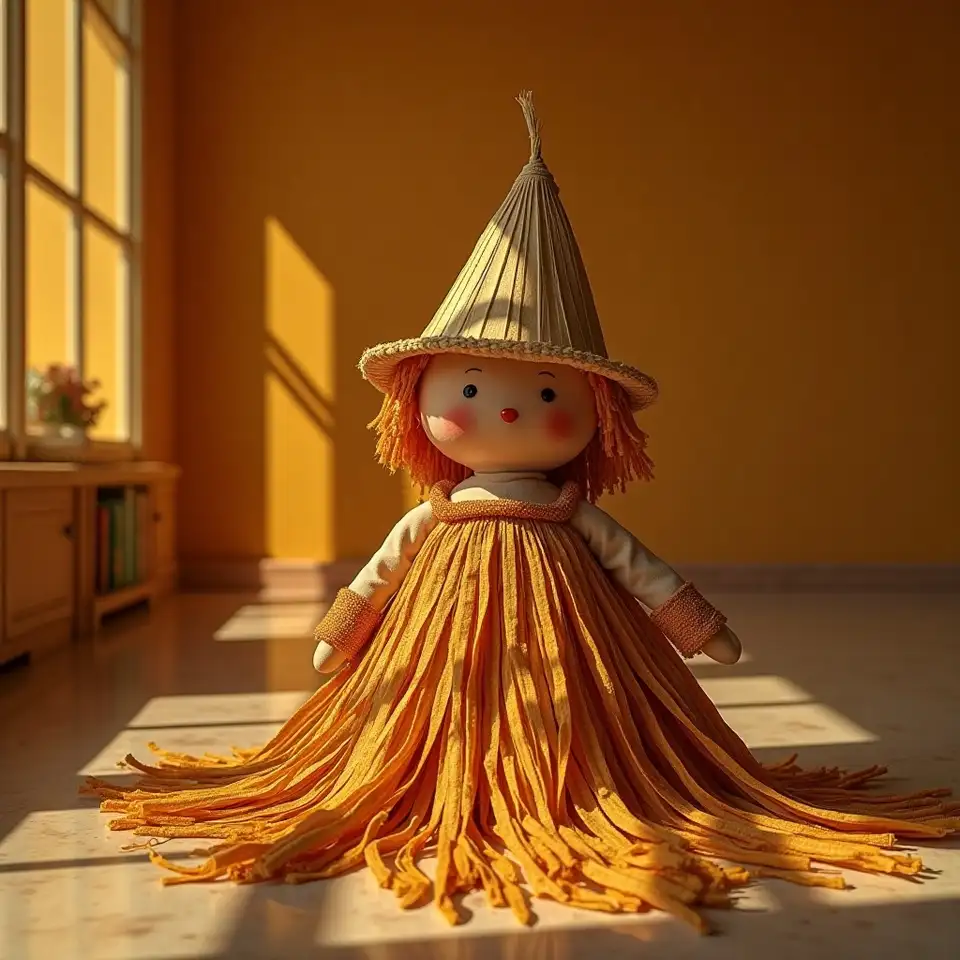
Onion skin dyeing produces the deepest and most consistent amber tones of any plant-based dye method documented for use with corn husks. This tutorial walks through the full dyeing process — preparing the dye bath, simmering the husks, draining and drying them, and re-soaking briefly before shaping to restore workable flexibility. The finished figure demonstrates how natural colour variation across differently dyed strips produces surface depth that undyed husks cannot replicate.
Onion skin dye Natural dyeing Advanced prep Intermediate level
Posed figure with wire armature

Posed figure with wire armature

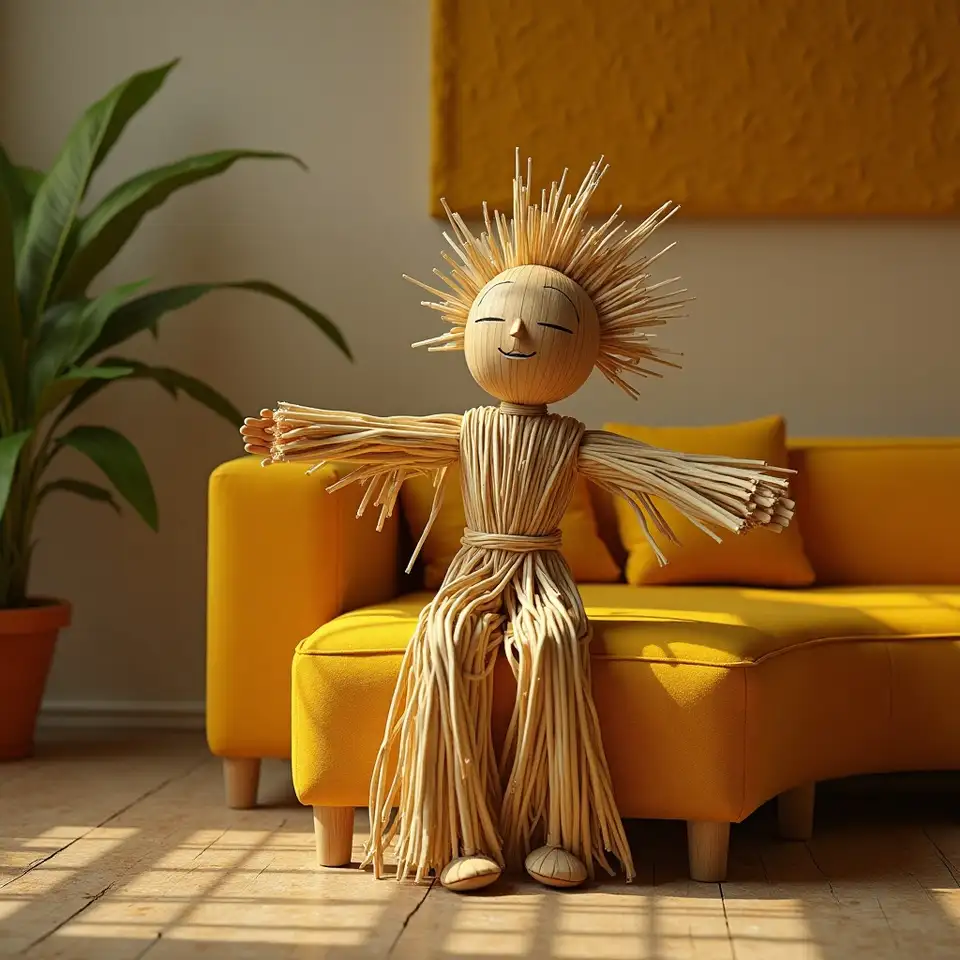
The introduction of a wire armature allows a corn husk doll to hold positions — extended arms, a tilted head, an angled torso — that dried husks alone cannot maintain. This tutorial covers armature construction from thin craft wire, end conditioning to prevent puncturing the outer husk surface, and the sequence in which armature insertion and husk layering must occur to produce a structurally stable figure. Suitable for makers who have completed at least two beginner figures.
Wire armature Posed construction Advanced level Craft wire
Australian summer harvest figure

Australian summer harvest figure

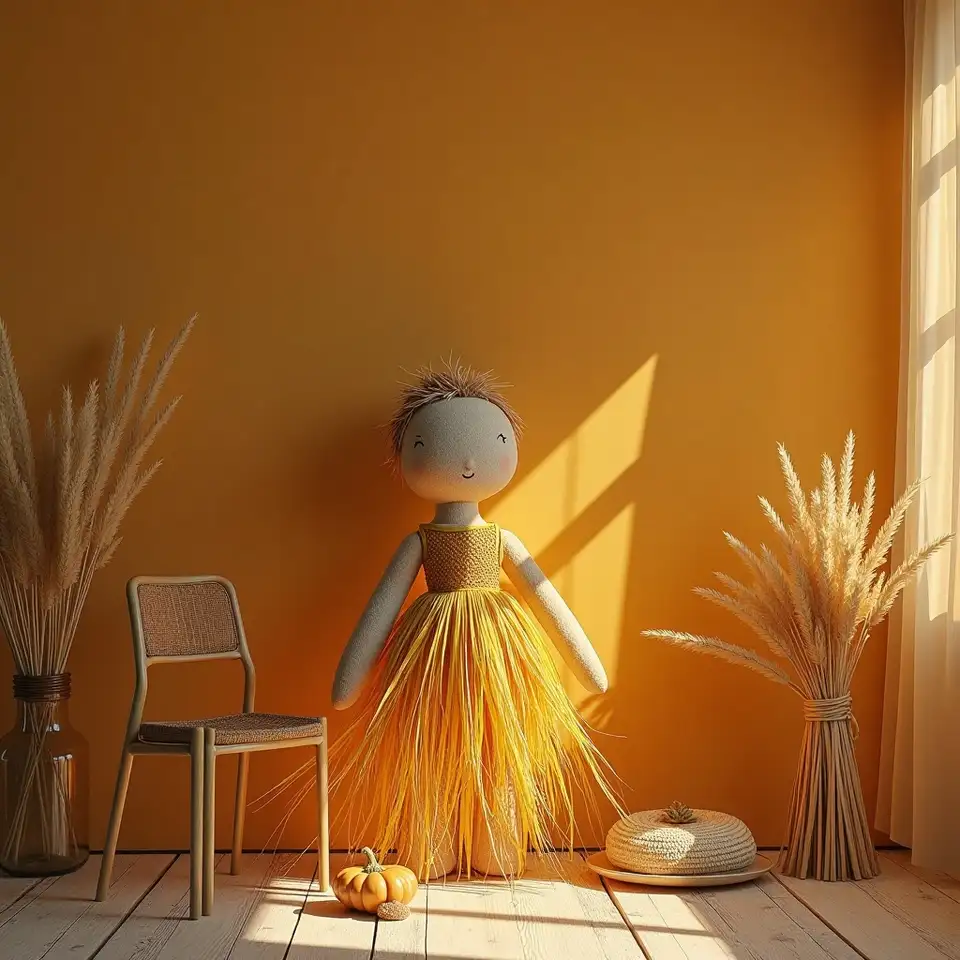
A seasonal tutorial developed specifically for makers working with locally available materials in the Australian summer — including sweet corn husks dried at home, native dried grasses sourced from garden or bush, and natural dyes derived from Australian plant material including eucalyptus bark and wattle. The figure reflects no single historical tradition directly but draws on the principle of adaptation within documented folk craft lineages — using locally available material to produce a form consistent with the craft's foundational logic.
Australian materials Seasonal design Home-dried husks Intermediate level
community gallery of corn husk dolls made by members
Join the making

New tutorials added as the craft community grows and the seasons turn

Tutorials on this site follow the rhythm of the craft rather than a publishing calendar. New guides appear when a technique, regional style, or seasonal form is ready to be documented thoroughly — with the materials list, photographic steps, and cultural context that each subject requires. Subscribing to the newsletter is the most reliable way to know when a new tutorial has been published. Submitting a photograph of a completed figure to the community gallery is the most direct way to contribute to the site's growing record of what makers are producing from these instructions.

Cookies on greistanpaemoansio.sbs

This site uses cookies to support core functionality, remember preferences, and collect anonymised usage data to improve content and navigation for all visitors.